Introduction
Two boxes of pouches leave the same factory line. One stays airtight for eight months; the other lets oxygen creep in from week two. Same film, same zipper, same heat seal settings — on the outside nothing looks different. The failure is invisible, and that is exactly why it keeps happening.
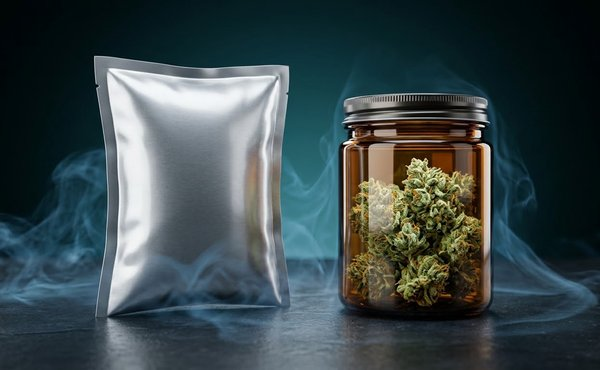
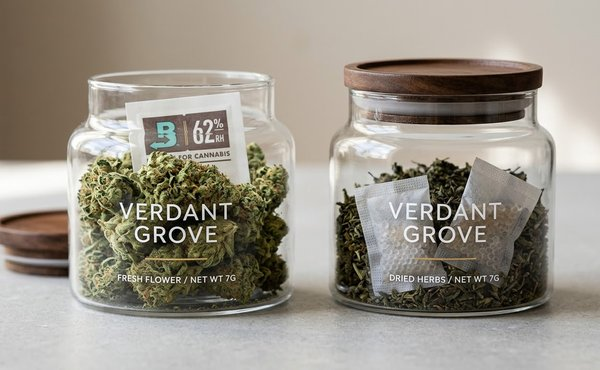
Leak testing is not a lab luxury for cannabis brands. Flower that loses its 58–62% RH environment turns brittle or moldy. Terpenes evaporate through a pinhole you cannot see with your eyes. A "child-resistant" pouch that leaks is a compliance problem waiting to be discovered by a regulator, not by you.
The problem for most brands is not whether to test. It is which method to use, what the results actually mean, and how to hold a supplier accountable. This guide breaks down the three methods you will actually meet — water bath, pressure decay, and vacuum decay — and gives you a verification checklist you can put in a purchase order today.
Why Seal Integrity Matters in Cannabis Packaging
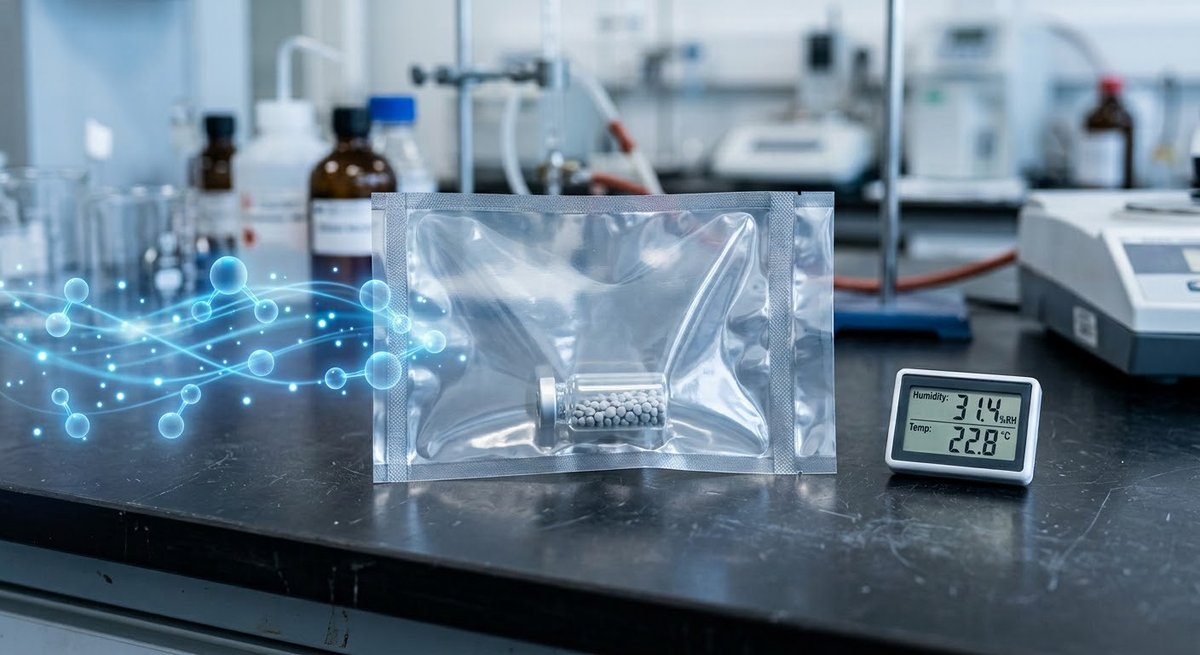
Seal integrity is the silent half of moisture control. Humidity packs and desiccants only work if the package holds its atmosphere; a leaking pouch turns any internal conditioning into a slow-losing battle.
- Oxygen entry degrades potency. Cannabinoids oxidize over time, and terpenes are volatile enough to escape through microscopic leaks. A pouch that tests "visually fine" can still drop noticeable potency between lab test and retail shelf.
- Moisture moves both ways. Flower stored too wet grows mold; too dry crumbles. A leak lets ambient humidity override whatever your humidity pack is trying to hold.
- Lab results drift. If your compliance lab test measures potency at packaging and the product loses 5% before retail testing, the printed THC number on the label is no longer accurate. Seal integrity failures quietly create labeling inaccuracies.
- Returns and refunds. "My bag arrived dry/crushed/moldy" is one of the most common consumer complaints in cannabis retail — and it is almost always a seal story.
The economics matter too. A leaking batch means destroyed product, chargebacks from retailers, and lost brand trust. Testing a pouch costs a few cents when amortized; losing a batch costs thousands.
Where Cannabis Pouches Actually Leak
Before choosing a test method, know where the holes come from.
- Heat seals are the most common failure point. Seal strength depends on temperature, pressure, and dwell time. If the sealer drifts — worn heating element, inconsistent air pressure, operator rushing — the seal looks fused but delaminates under stress. This is called a false seal, and it is the classic batch defect.
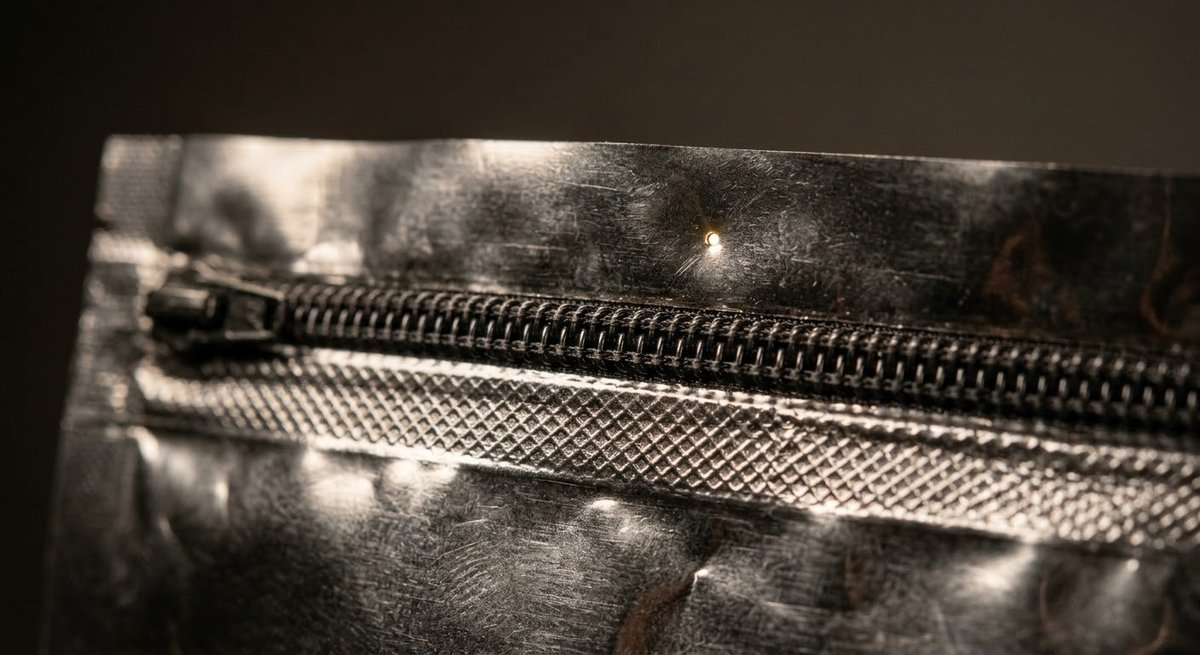
- Zippers fail at the track. The male/female interlock on a resealable pouch needs perfect alignment. Tiny resin flash, dust, or resin particles in the track prevent full engagement, leaving a micro-channel that only opens under pressure.
- Tear notches and die cuts concentrate stress. A tear notch designed for easy opening can double as a crack starter if the web is scored too deep.
- Pinholes live in the film itself. Nicks from slitting knives, voids in extrusion, or contamination between laminate layers. These are random, rare, and invisible — which is precisely why you need actual testing rather than visual inspection.
Reality check: leaks are rare per pouch but batch-correlated. If one pouch in a batch leaks, the probability that others leak is high — same film roll, same seal settings, same operator. That makes sampling-based testing extremely effective.
Method 1 — Water Bath (Bubble Emission), ASTM D3078
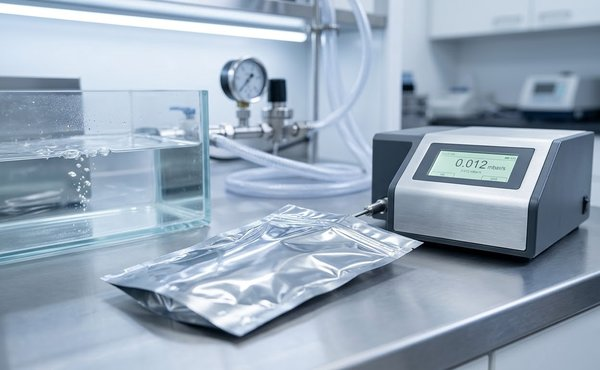
How it works: the pouch is inflated with air (or a pressurized gas), submerged in a water bath, and watched for bubbles. A dye can be added to the water, or the pouch can be pressurized with a colored gas, to help locate the exact point of the leak.
Strengths:
- Dead simple and cheap. A tank, a pump, and an operator are enough to get started.
- Locates the leak. Bubbles tell you exactly where the failure is — incredibly useful for failure analysis.
- Low entry barrier for a first verification of a new pouch design.
Weaknesses:
- Destructive in practice. You are inflating and dunking product; tested pouches are not sellable afterward.
- Operator-dependent. Whether you see a bubble at a subtle leak depends on eyesight, lighting, and patience. Results are qualitative, not quantitative.
- Misses small leaks. A pinhole that lets oxygen through over weeks may not produce an observable bubble stream in a 30-second dunk.
- Hard to automate. This is a manual method; it will never run inline on a production line.
Use it for: prototype verification, failure analysis, and settlement disputes where you need to point at the actual hole. Do not rely on it as your only QC gate.
Method 2 — Pressure Decay, ASTM F2095
How it works: the pouch is pressurized with air to a set pressure, the supply valve closes, and the instrument measures how fast pressure drops over a fixed window. A larger drop rate equals a larger leak. Results come back as a quantitative leak rate.
Strengths:
- Non-destructive. The pouch is pressure-tested but not opened or submerged; it can still be sold.
- Quantitative and repeatable. You get a number, not an eyeball judgement — which means you can set a pass/fail threshold and audit it.
- Automation-friendly. Inline leak testers use exactly this principle, so you can test every pouch coming off a sealing line at production speed.
- Moderate cost. Off-the-shelf testers are far cheaper than a vacuum decay system.
Weaknesses:
- Flexible pouches need fixturing. A soft mylar bag deforms under pressure, and the deformation itself changes the pressure reading. You need a rigid chamber or backer to separate bag compliance from actual leakage.
- Sensitivity is limited by chamber volume. The bigger the headspace you are measuring, the smaller the pressure change per unit of leak — small leaks get lost in the noise on large cavities.
- Requires interpretation between large and small leaks. The method measures total leak rate; it does not tell you where the leak is.
Use it for: incoming inspection of pouch batches, inline production QC, and supplier acceptance testing. This is the workhorse method for most cannabis packaging.
Method 3 — Vacuum Decay, ASTM F2338 (CCIT Gold Standard)
How it works: the sealed pouch sits in a test chamber. The chamber is evacuated, and the instrument watches the pressure in the chamber itself. Leaking pouches let chamber vacuum pull gas out of the pouch, changing the chamber pressure. No pouch inflation, no water, no operator eyeballs.
Strengths:
- The most sensitive non-destructive method. Vacuum decay reliably detects leaks down to the micron range — far below what bubbles or pressure decay can resolve.
- Container Closure Integrity (CCIT)-grade. This is the method pharma uses for sterility-critical packaging, and the FDA respects it. If your product carries a hard seal-integrity requirement, this is the defensible standard.
- No fixturing headaches for flexible bags. The chamber supports the film, so bag compliance does not distort the result.
- Fully quantitative and automatable inline.
Weaknesses:
- Most expensive. Instrument cost is the highest of the three, which matters if you are testing on every batch.
- Sensitive to material behavior. Films that absorb or desorb gas (moisture in nylon, for example) create background drift that must be compensated with blanks — which adds method complexity.
- Overkill for many products. If your real risk is gross seal failures, vacuum decay buys sensitivity you pay for and never need.
Use it for: premium flower lines, products with strict compliance claims, and supplier validation when a regulator might ask "how do you know?".
Method Comparison
| Dimension | Water Bath (ASTM D3078) | Pressure Decay (ASTM F2095) | Vacuum Decay (ASTM F2338) |
|---|---|---|---|
| Destructive? | Yes | No | No |
| Sensitivity | Low (operator-dependent) | Medium | High (micron-level) |
| Quantitative result | No | Yes (leak rate) | Yes (leak rate) |
| Locates the leak | Yes | No | No |
| Inline automation | Hard | Yes | Yes |
| Equipment cost | Low | Medium | High |
| Best role | Failure analysis | Batch QC / incoming | Compliance-grade / premium |
Decision rule:
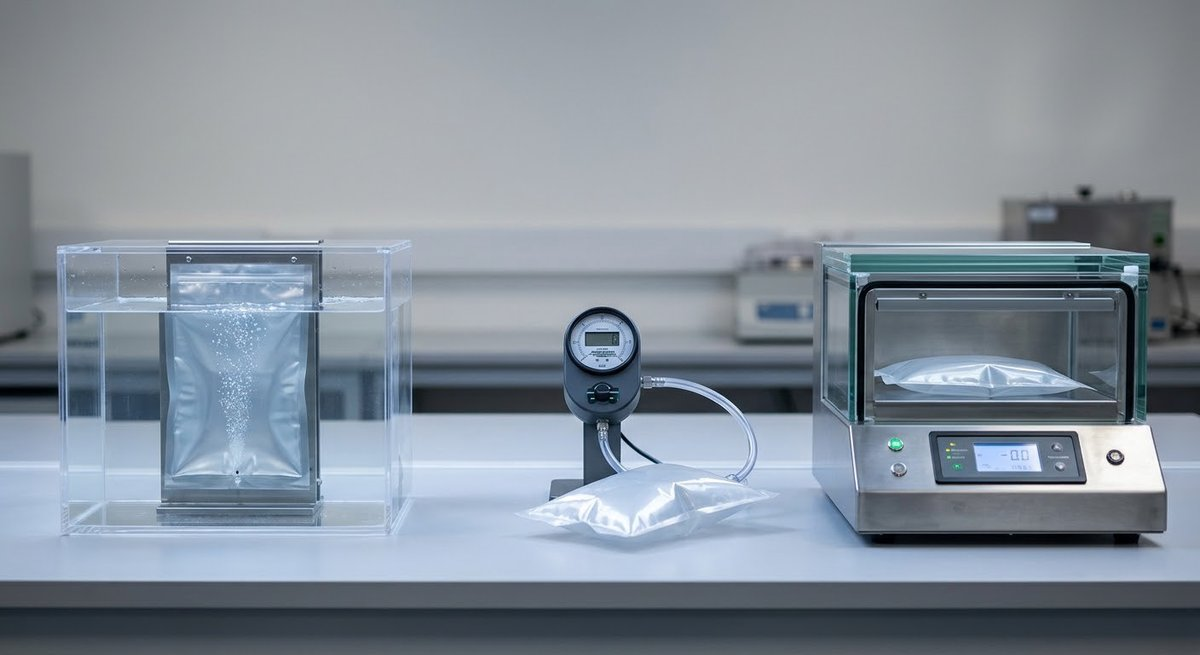
- Only doing failure analysis or a dispute? Water bath.
- Running a standard product line and need a repeatable pass/fail? Pressure decay.
- Selling premium or compliance-heavy product where a regulator could ask? Vacuum decay.
The Buyer's Verification Checklist
Seal testing is not a favor your supplier does you — it is a specification you pay for. Put it in the purchase order.
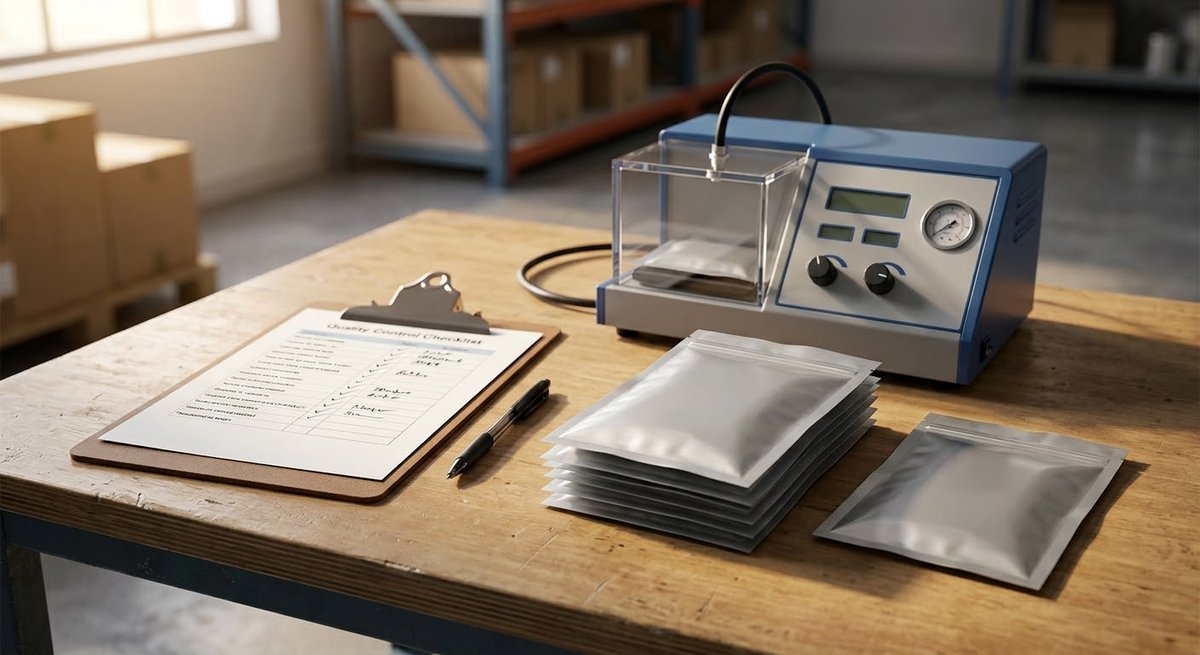
- Name the method and standard in the spec. "Sealed pouches shall be tested per ASTM F2095 pressure decay" is enforceable. "Good quality seals" is not.
- Define the pass/fail threshold. Set a maximum allowed leak rate (or a zero-tolerance gross-leak rule) in writing. Vague thresholds produce vague results.
- Agree on sampling. State sample count per batch, sampling frequency, and the plan if a sample fails (e.g., 100% testing of the affected batch or full rejection). AQL-style sampling is common; just write down the numbers.
- Demand the report. Every shipment should come with a test summary: method used, sample size, results, and the pass/fail outcome. Make the report a required delivery document.
- Verify independently. Spot-check incoming pouches with your own pressure decay tester, or send samples to a third-party lab. Trust your supplier, verify your product.
- Re-test after process changes. Any change to film, seal settings, or factory triggers a fresh validation batch — not the next routine run.
Budget-strapped alternative: dye penetration testing (inject colored dye, watch for bleed-through) catches gross leaks cheaply, and a careful water bath catches moderate ones. Know the limitation — these methods miss the micro-leaks that pressure decay and vacuum decay exist to find.
Common Mistakes
- "No bubbles means airtight." Water bath only shows leaks big enough to produce visible bubbles. Small leaks pass unnoticed and kill you over shelf life.
- Testing only the seal, not the film. Most quality checks focus on the heat seal because it is where people expect failure. Pinholes in the web are equally fatal and only show up on a pressure-based test.
- Buying the most expensive method for every line. Vacuum decay is excellent — and wasted on low-risk commodity pouches. Match the method to the product's real leak risk; over-specification is just tax.
Conclusion
Leak testing is a purchase-order decision, not a factory mystery. Water bath finds holes visually and cheaply; pressure decay gives you a repeatable, automatable number for batch QC; vacuum decay gives you compliance-grade sensitivity for the lines that need it. Pick the method that matches your product risk, write the standard and the threshold into your PO, require the report, and spot-check the results. Your flower — and your compliance file — will thank you.
References
- ASTM International. ASTM D3078 — Standard Test Method for Determination of Leaks in Flexible Packaging by Bubble Emission. https://www.astm.org/
- ASTM International. ASTM F2095 — Standard Test Methods for Pressure Decay Leak Test for Flexible Packages With and Without Restraining Plates. https://www.astm.org/
- ASTM International. ASTM F2338 — Standard Test Method for Nondestructive Detection of Leaks in Packages by Vacuum Decay Method. https://www.astm.org/
- Sepha. Vacuum Decay Leak Test Method Explained (Container Closure Integrity). https://sepha.com/test-methods/vacuum-decay/
- FlexPak. Vacuum Decay Leak Testing: ASTM F2338, USP 1207 and More. https://flexpakinc.com/vacuum-decay-testing-guide/